
But of course I digress. Today's Episode is titled Seed Starting 102 (I am a genius). This round I'll show how I take the sprouts and plant them. But let me first talk a little about the pots I use.
My indoor greenhouse is a lovely luxury. However I start an enormous number of vegetable plants for my own use and to give to friends so maximizing my space is paramount. I've purchased seed starting pucks, trays, cells - you name it, I've tried it. Invariably I end up with a mish-mash of pots that use up too much real estate. Plus, it cost me a fortune for the number of plants I start.
What to do, what to do...
Pondering... Now Distracted by Coffee
Our office has a Keurig which is mighty convenient but since those used K-Cups can't be recycled it gives me stress that I add more to the landfill. To allay my stress I try to re-use an item before it is trashed - I figure re-using stops me from buying another consumer products.
My those K-Cups are a good size for...
Hello!!!!
Consistent sized pots which are perfect for starting seedlings - Holy moly, I am brilliant!! (wait, there are lots of others who do it too - but please, leave me to bask in my self-deluded smarts).
After a couple of trial and errors, here is my method.
Things You'll Need (Otherwise Known as Supplies)
Seed Starting SoilWorm Castings (not totally necessary but I use a small amount)
Container for mixing soil and castings

K-Cups
Bowl
Sprouted Seeds
Light Source (could be a lamp, windows, anything you like)
Things You'll Do (Otherwise known as Directions)
Take some soil and a small amount of castings and mix together in the container. Add enough water to make the soil damp but not so wet that you can squeeze water out.


Take your pots (in my case rinsed out K-Cups), and soak in water (see Note below).
Note: I used the K-Cups with the membrane in and taken out. It made no measurable difference to the growth success of the seedling. I was simply experimenting.


Partially fill the K-Cup with soil.


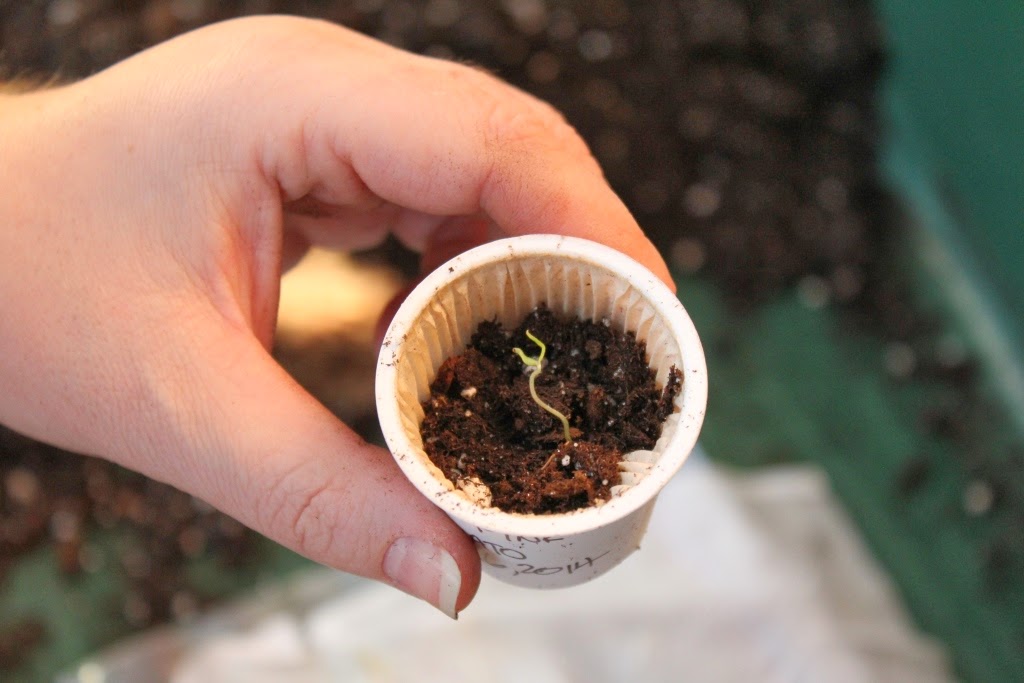
Add soil around the stem of sprout. I typically leave the very top poking out.

And repeat until all sprouts are planted.
Place in tray and put under some type of light source.


Water when seedlings appear to be drying out. Do NOT over water. I was a little over-eager and lost some plants in another tray. I use a 500ml sports drink bottle to water as the spout allows for precise application of water. I tried watering from below but there was little consistency in how much water the seedling absorbed. Some got saturated and some dried out. So I water from above.
 |
| You can tell the differences in water absorption. |


 |
| As of March 23rd 2014 |
There you go! I know... when you go through the steps it sounds like it takes hours! It really doesn't.
Add on Note: After your plants start to grow larger, GENTLY press down on the soil. If you used the K-Cups and retained the filter inside, you will notice that it has broken down and the soil will move to the bottom. Top up the container with more of the soil and worm castings mixture.
Stay tuned for the next episode - Seed Starting 103 - What Happens When Seedlings Get Too Big for their Britches?
Cheers and Happy Growing,
Lori


It's like spring inside your greenhouse! You may have unwanted company come Wednesday! :D
ReplyDeleteGreat post!