Pages

Monday, May 26, 2014

Partridgeberry (Lingonberry) Squares - A Newfoundland Treat


Growing up my 2 brothers and I had preferred berries - None were the same. Calvin loved Bakeapples, Glen loves Blueberries and I love Partridgeberries. The partridgeberry is a delicacy and often very time consuming to get - but every so often I get lucky where someone pities me and sends along a bag of frozen ones. Which I promptly make jam, muffins, cakes - whatever is going.

This recipe is a combo of my favourite berry and a crumble - best of both worlds. It's really the same crumble as a Date Square (which I loathe) so I use a much loved jam.

Things You Need (Otherwise Known as Ingredients and Supplies)


Crumble


1&1/2 cups All Purpose Flour, sifted
1&1/2 cups Oats
1/2 tsp Salt (I use Kosher)
1/2 tsp Baking Soda
1 cup Brown Sugar

3/4 cup Butter, cubed

500ml-750ml of Partridgeberry Jam (Honestly, you could use any jam for this)

Bowls
Spoons
9X13 Pan
Parchment Paper
Something to grease pan (spray, extra butter)

Things You Do (Otherwise Known as Directions)


Preheat oven to 375F.

Mix together Flour, Oats, Salt, Soda and Brown Sugar until completely combined.


Crumble through the butter until is looks like cornmeal.


Press 1/2 of the crumble mixture into a parchment lined (helps with removing the squares), well greased 9X13 pan.

Gently smooth the jam over the top of pressed crumble.


Top jam with rest of crumble mixture and light press down in spots.


Bake for 25 minutes at 375F or until crumble has a delicate brown hue.


Let cool completely, lift the entire thing from the pan (using the aforementioned parchment paper) and cut into squares.


Eat. With tea, milk, coffee - Whatever your preference.

From my childhood to your home,
Lori

Saturday, May 17, 2014

May 2014 BeautyBox 5

I had taken a break from subscribing to Beauty Sample boxes. While I enjoyed them it got to a point where I had a collection of things I couldn't use or weren't items I would ever wish to.

Please don't misunderstand, I've found many wonderful samples from companies that I still faithfully use and to that end I think subscription boxes are a great way to experiment and discover new products.

For the past 6 months, I've subscribed to one Subscription Box only, BeautyBox 5. I've not blogged about them, just tried them out to see if a) the product selection is good; b) would I recommend them to others. It costs $12 month shipping included.

Thus far I've be pleased with the boxes so I thought it was time to start back at sharing the boxes with other subscription box and beauty product fans.

Enough of the intro - let's dive in!

Secret Clinical Strength Antiperspirant Full Size: $10.99 CDN, $7.99 USD
Rating: Mehhhh
Size: Full

H2O Plus Spa Sea Lotus Body Wash  Full Size:$18.50 for 12.5 fl oz
Rating:OK - Scent is light and clean.
Size: 1 fl oz


Just Being Sexy Bronzer. Full Size: $49 for 6 oz.
Rating: Unfortunate - I hate Body Bronzers
Size - 3X6ml packets

Swissco toe separators. Full Size: $2
Rating: Meh
Size: Full

Nubar Nail Polish in Blondie. Full Size: $8 for 1/2 fl oz.
Rating: Unfortunate - Never going to use
Size: 1/4 fl oz

Overall impression - Unfortunate. The highlight is the deodorant.... Deodorant!!  Oops. Pardon me, Antiperspirant.

Since it typically takes longer for the boxes to ship to where I am, I usually see what others get in their boxes before I receive mine.  I saw eyeliners, facial masks, etc. so I was hopeful.  Alas, apparently they think I stink and sent Secret to rescue me.

If this was my first box I would cancel my subscription quicker than you could blink. But since I've had better ones in the past, I'm hoping that I get off their hate list and June's will be much more promising.

Friday, May 16, 2014

Worry Knot non-Kneader - Focaccia is here to help!


Here we are! The 4th bread in the No-Knead Bread series.  My wish was to show that by starting with the same ingredients and process you can indeed make delectable bread in so many different ways.

To recap, together we've baked:

Straight up Artisan Bread
Chocolate Bread
Cinnamon Raisin Bread

Last night was BBQ night at the house so I decided to accompany the pesto stuffed chicken with a focaccia. The lovely thing about this bread is that there is little fussing with forming the dough (not the others were super kneady (needy - hehehe)). Just plop it in a square cake pan, cover with foil and bake.

You can add whatever ingredients you wish to the focaccia.  I've added chopped sun-dried tomato, herbs, olives, grated lemon zest - whatever combinations of flavour that would enhance your meal.  Lemon zest, thyme and tarragon bread works lovely with a piece of salmon.

I've rambled enough - here we go!

Things You K-Need (Otherwise Known as Ingredients)

Base Bread
3 cups All Purpose Flour
1/2 tsp Quick Yeast
1&3/4 tsp Kosher Salt
1&1/2 - 1&3/4 cups Water, Room Temperature

Things I Added
3 cloves Garlic, minced
1 Sprig Rosemary, chopped fine
4 or 5 Springs Thyme, chopped fine
1 Tbsp Chives, chopped fine


Things for Later
1 Sprig Rosemary, chopped fine
2 or 3 Springs Thyme, chopped fine
1 Tbsp Chives, chopped fine
Kosher or Sea Salt, I used Hawaiian

1/4 cup of Good Olive Oil

Parchment Paper
Plastic Wrap
8X8 or 9X9 Square Pan
Something that serves as a cover
Large Bowl for rising dough
Spoons, measuring cups - You know the drill

Things you Do (Otherwise Known as Directions)

Dump 3 cups of flour in the bowl. Add the yeast and salt and mix together. Add the Rosemary, Thyme, Chives, and Garlic to dry ingredients and mix thoroughly. I actually mix those together first on the chopping board and do a couple of chops.


Add the water.  I start by dumping 1&1/3 cups in and using a wooden spoon or spatula to mix. Please DO NOT overmix - the less you fuss the better. If you find that the flour is not incorporated, add remaining water, a Tbsp at a time until no "loose" flour is left.

Cover with plastic wrap and set aside.
I also wrapped in blanket as house was cool


12-18 hours later...

Preheat Oven to 450F.

Take the square pan and pour the olive oil in. I know,  it seems like a lot of oil,but honestly it isn't.

I chopped the herbs and put about 1/2 of it in the oil.

Then take your dough and plop it in the oil.


Use your fingers to spread the dough out and occasionally dip fingers in the oil when pressing the dough.

Take the rest of the herbs and salt and sprinkle on top.


Cover the pan with foil and tightly pinch seams.

Put in oven for 20 minutes.

Remove the foil after 20 minutes and bake uncovered for an additional 20 minutes. Notice the smell wafting through your home.  Pretty delicious isn't it?

Remove from oven and them immediately take out of pan to rest on a cutting board.


Notice that every bit of the olive oil has been absorbed into the dough for a delectable crust


Cut and enjoy!


Cheers,
Lori

Thursday, May 15, 2014

No-Knead Cinnamon Raisin Bread for the K-Nervous


This recipe is Part 3 of the No Knead Bread Series for the K-Nervous Bread Maker. My idea is that I would use the same base recipe as found in the straight up bread and just add stuff (I'm so technical and eloquent) to completely change the product.

For more variations, here are the first 2 breads in the series, Straight Up Artisan Bread and Chocolate Bread.

I adjusted this recipe to suit my 3.5 Quart Dutch Oven. There are literally hundreds of recipe variations which give amounts for 5 and 6 Quart ovens.

Important to NOTE: You do not need a Dutch Oven, simply a pan with a cover that can take 450F temperature. Or a pan that can take the heat and aluminum foil.

Also, this bread takes 12 hours to rise, at least.

Things you Knead (Need - See what I did there??) (Otherwise Known as Ingredients and Supplies)

2 cups All Purpose Flour, plus some for dusting
3/8 tsp Quick Rise Yeast

1&1/4 tsp Kosher Salt
1 tsp Cinnamon
1 Tbsp +2 tsp Brown Sugar
*1&1/3-1&1/2 cups Water, Cool to Room Temperature
3/4 cup Raisins (Rumour has it that I soaked them in 2 tsp of rum and 1/2 cup coffee for about 2 hours)

*When you drain the raisins, drain into measuring cup and then top to the 1&1/2 Cup mark with water.
When you drain the raisins, retain the liquid to mix with the water

Parchment Paper
Plastic Wrap
Dutch Oven (3.5 qt) or a pan that can take the heat
Something that serves as a cover
Large Bowl for rising dough
Spoons, measuring cups - You know the drill

Things you Do (Otherwise Known as Directions)

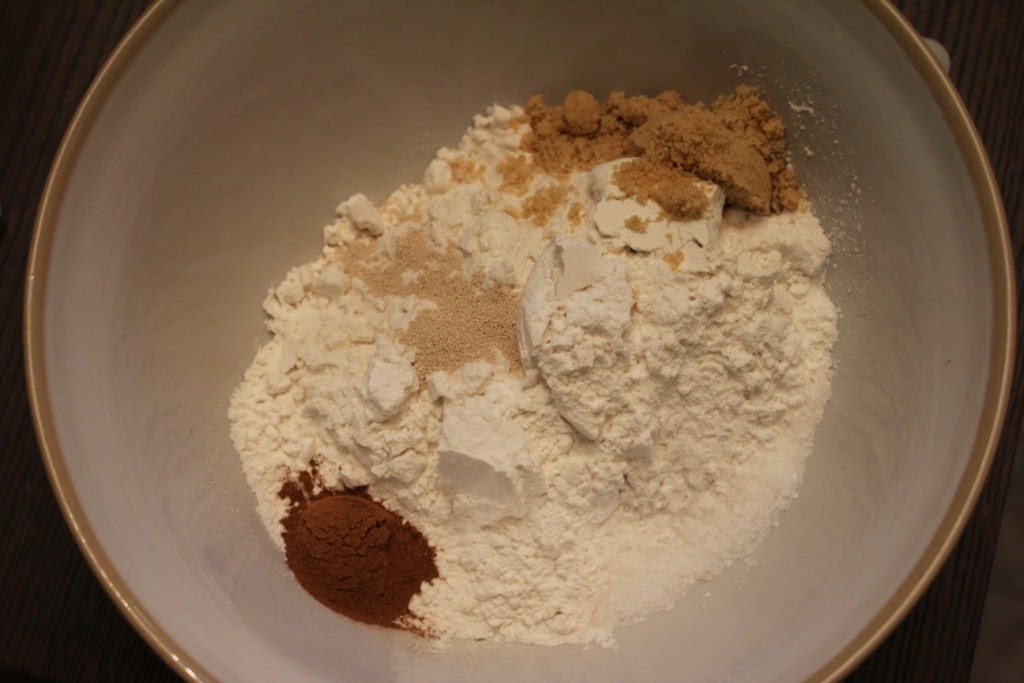
Dump 2 cups of flour in the bowl. Add the yeast, brown sugar, cinnamon and salt and mix together. I use a small whisk.


Strain raisins into a bowl. Reserve the liquid. Add raisins to mixture.

Pour reserved liquid into measuring cup and add 
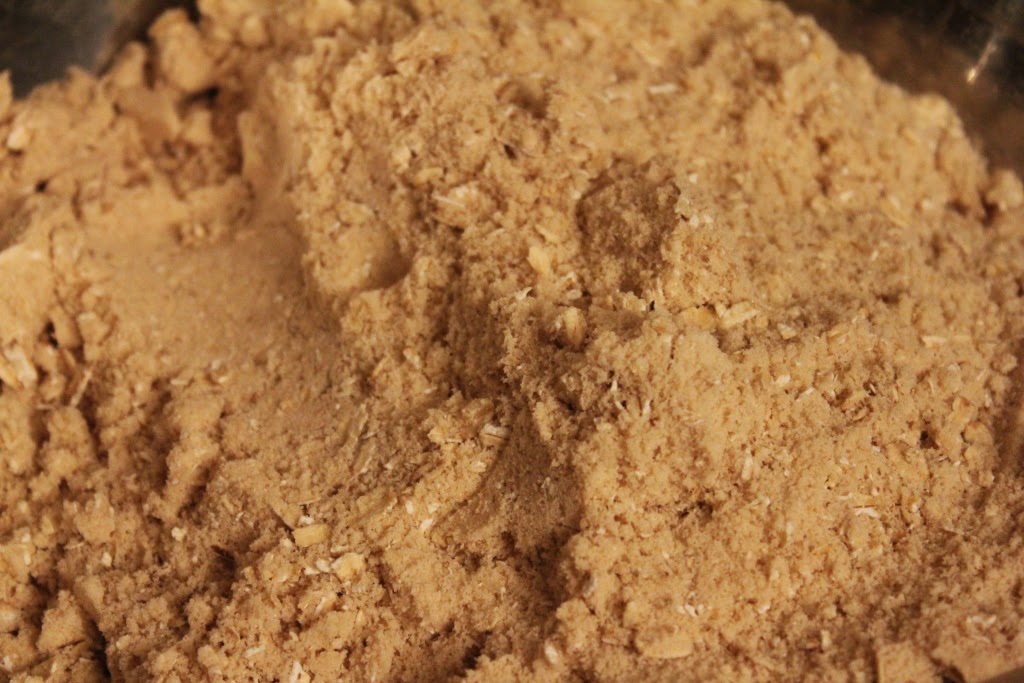
the water to the 1 & 1/2 cup mark.  Add water to dry-ish ingredients. I start by dumping 1&1/3 cups in and using a wooden spoon or spatula to mix. Please DO NOT overmix - the less you fuss the better. If you find that the flour is not incorporated, add remaining water, a Tbsp at a time until no "loose" flour is left.


Cover with plastic wrap and set aside.

12-18 hours later...

Preheat Oven to 450F. When your oven reaches the temp. Carefully put your pan (with cover or foil on) in the oven and leave for 30 minutes.  It's creating a steam oven within a steam oven!

Meanwhile...
Take a piece of parchment and lay out on  the countertop. Dust the parchment paper with 1 Tbsp flour and coat your hands. The dough will be uber-sticky!  Unwrap the dough bowl, take a scraper (or a really pointy hand) and dump on the paper. Keep plastic wrap.


Using your well floured hands mold the dough into the shape of the pan (I use a round Dutch Oven). You will end up with loose flour on the top - no worries, we'll deal with that shortly.

Place the plastic wrap loosely on the dough and let it rest until the pan has heated for 30 minutes.

Ding!  The 30 minute timer has gone off.

Take a brush and gently dust off the excess flour on the parchment paper. Even brush a little off the top. There is some flour that will stay stuck and that is absolutely ok.

WITH OVEN MITTS, take out the pan, take off the cover and CAREFULLY drop the dough (parchment paper and all) into the pan. Put cover on (or in my case crimp foil on) and place in oven for 30 minutes.

30 minutes later...
Take off cover and bake for 15 minutes more.

When done, carefully remove from oven and lift the bread out and place on cooling rack.


Let cool completely (yeah right) and then slice, use as bowl, rip off chunks - whatever tickles your fancy.
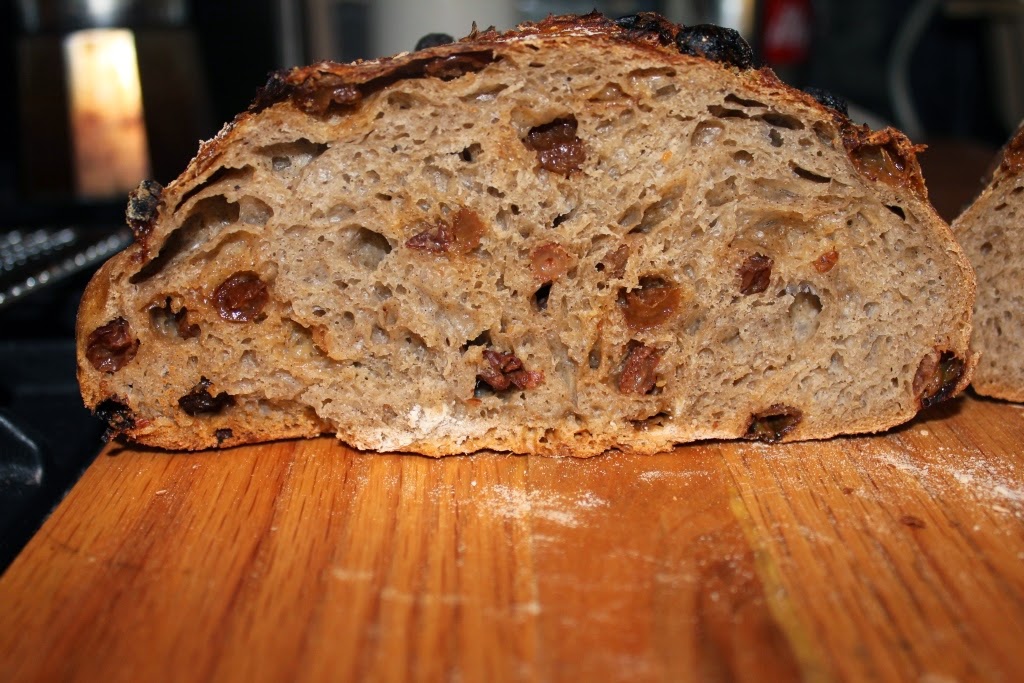
Sliced the loaf in half

Wrapping it in plastic wrap will keep it for about a week easily.

Cheers and happy non-kneading,
Lori